Create a Circles Group
This page is a comprehensive step-by-step guide on how to create your group on the Circles platform. You'll find all the necessary details and instructions here to set up your group.
Prerequisites
Make sure you’ve completed these before continuing.
Creating a New Group
1. Connecting
Visit app.aboutcircles.com and click “Get started”
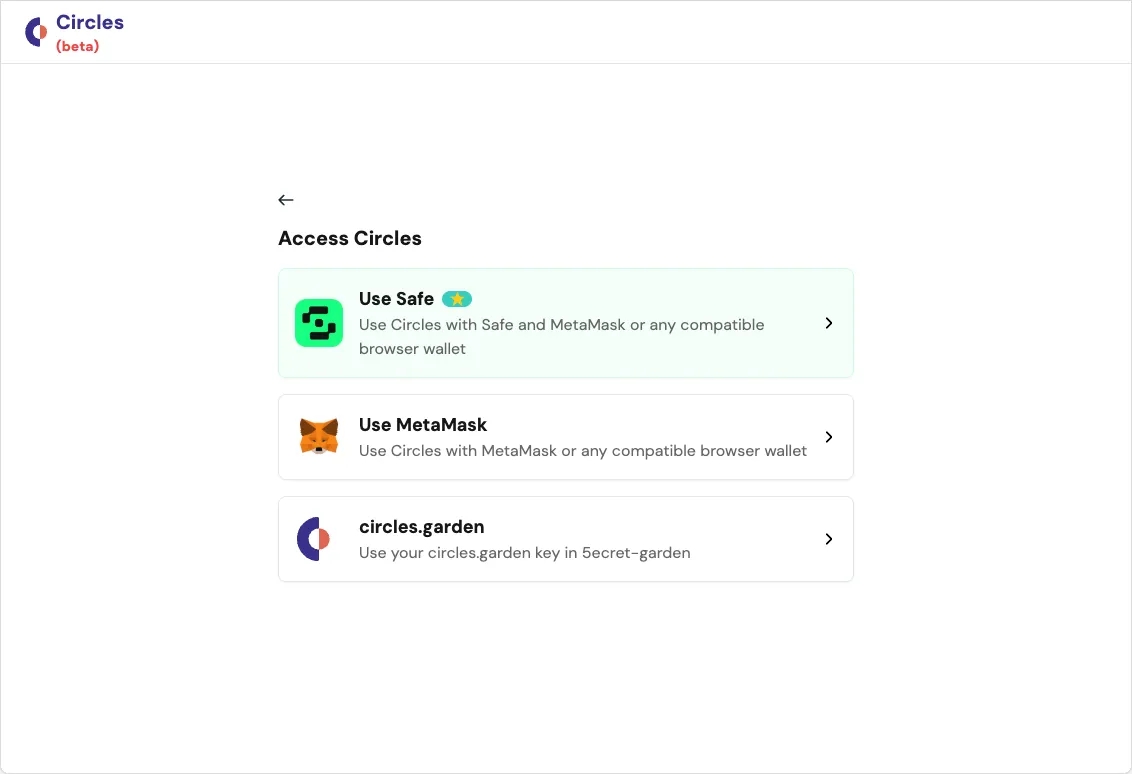
On the “Access Circles”, select the “Use Safe” option.
This will allow you to either:
Create a new Safe which will act as the “owner” of the group you create in the next steps, or
Access a list of existing Safes associated with your connected wallet
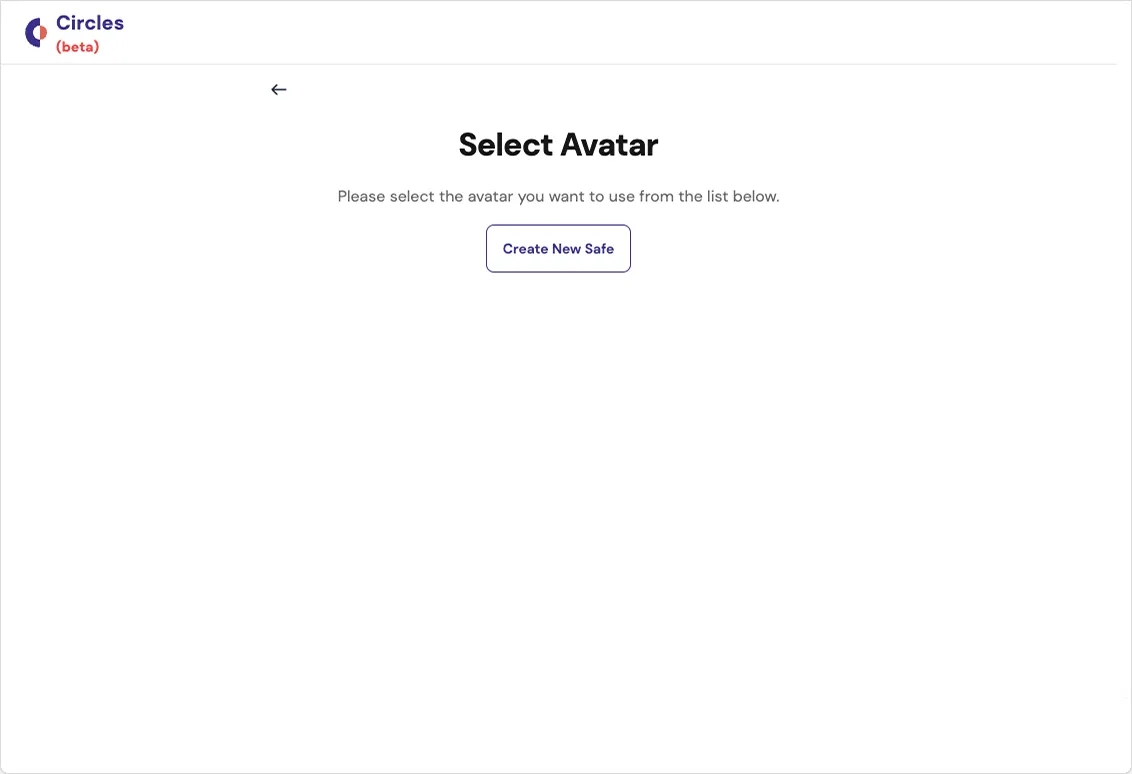
2. Create the owner's Safe
From this page, we’ll create and deploy a new Safe wallet. This Safe will function as the owner of your new group.
Click the “Create New Safe” button,
Sign the transaction in your web3 wallet (eg Metamask, Rabby).
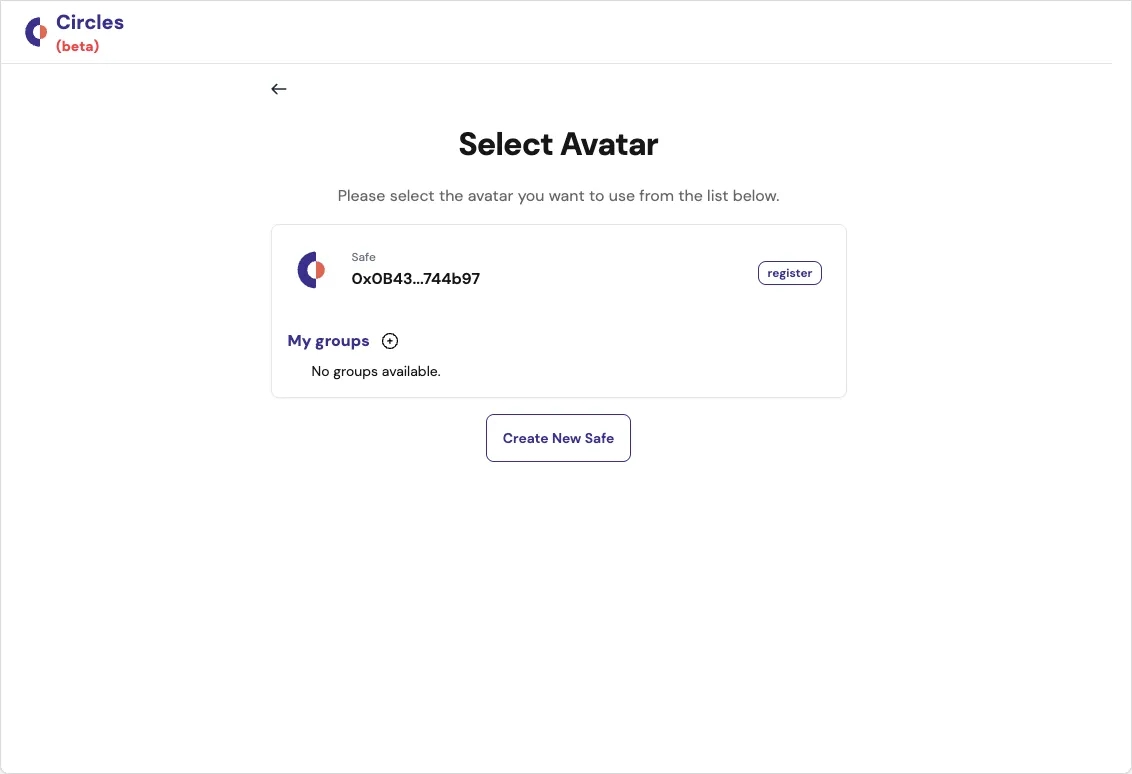
3. Create your first group
Now that your Safe has been deployed, you will be able to see the address (eg 0x2A12…). For now, we can ignore the “register” button.
Click on the My Groups + button to start the group creation flow
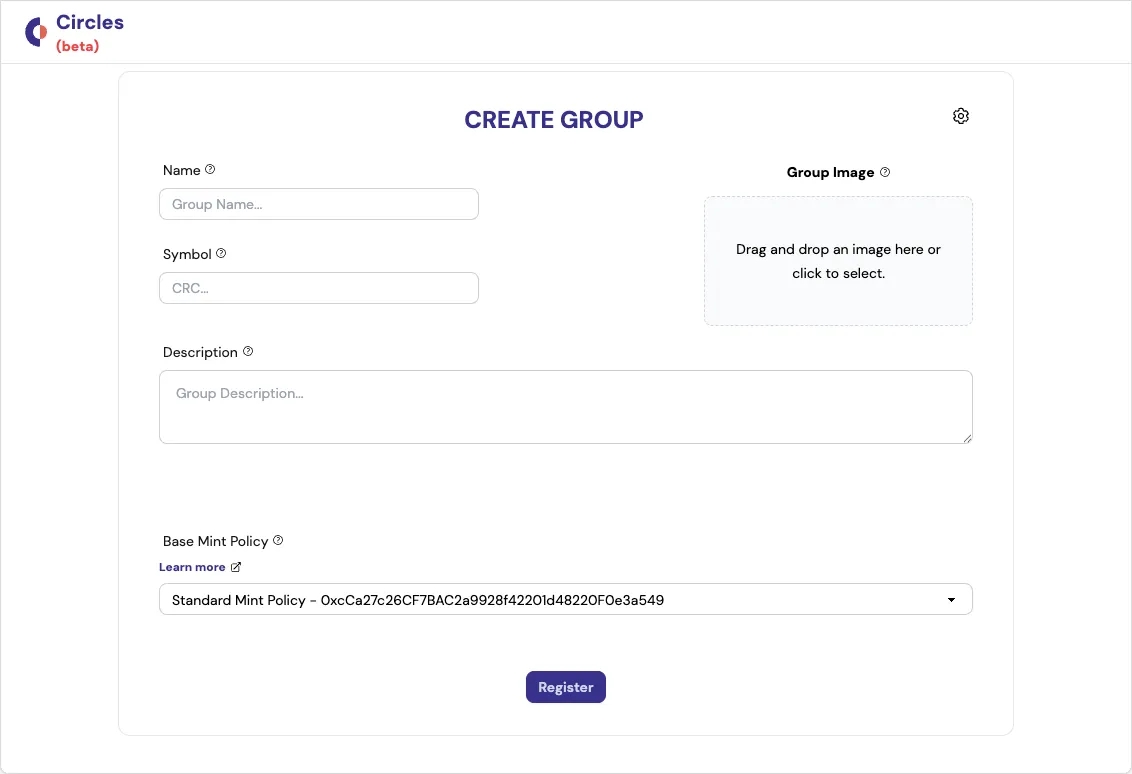
4. Your group info
The “Create Group” page enables you to set the important info for your new group.
Important:
The group “Name” and “Symbol” fields cannot be changed once the group has been created
The “Image” and “Description” fields can be updated at any time
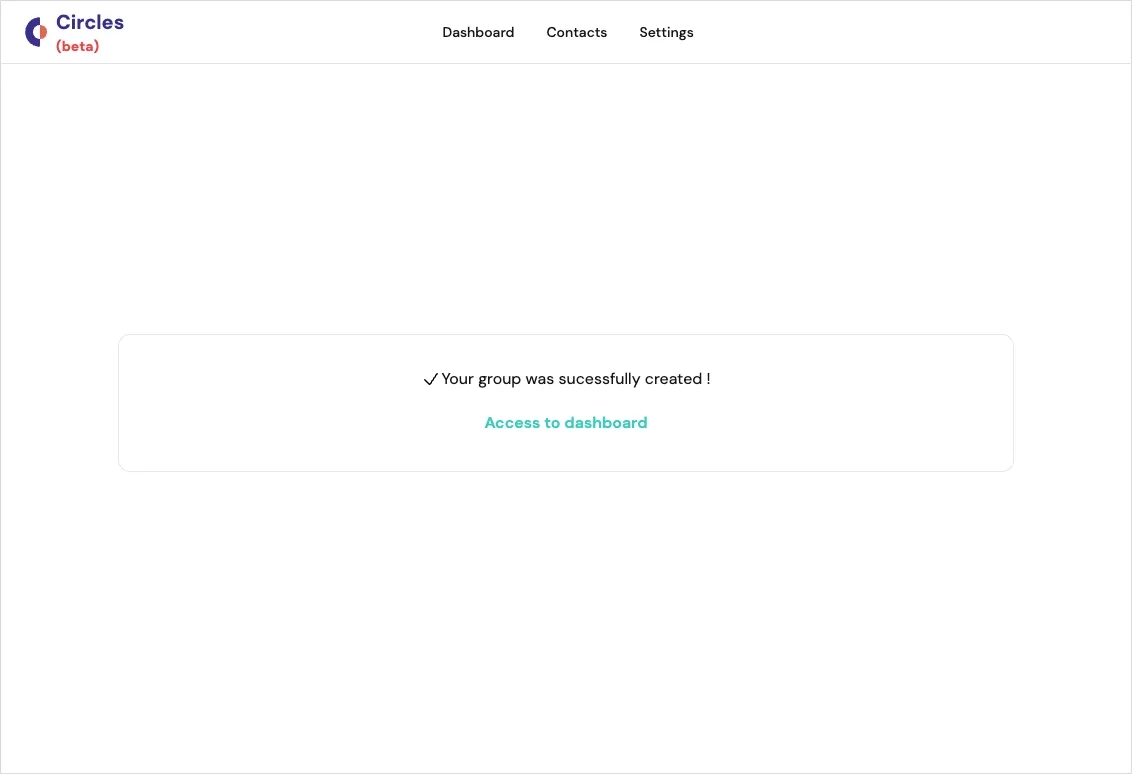
5. Group created
After a few seconds, your new group will be created.
Click “Access the dashboard” to view your new group
6. Dashboard
The current dashboard displays a list of transactions and a breakdown of the tokens in your Circles group.
In an upcoming release, this view will also display an overview of key data metrics for your group, including the number of members, group token transactions, token distribution and more.

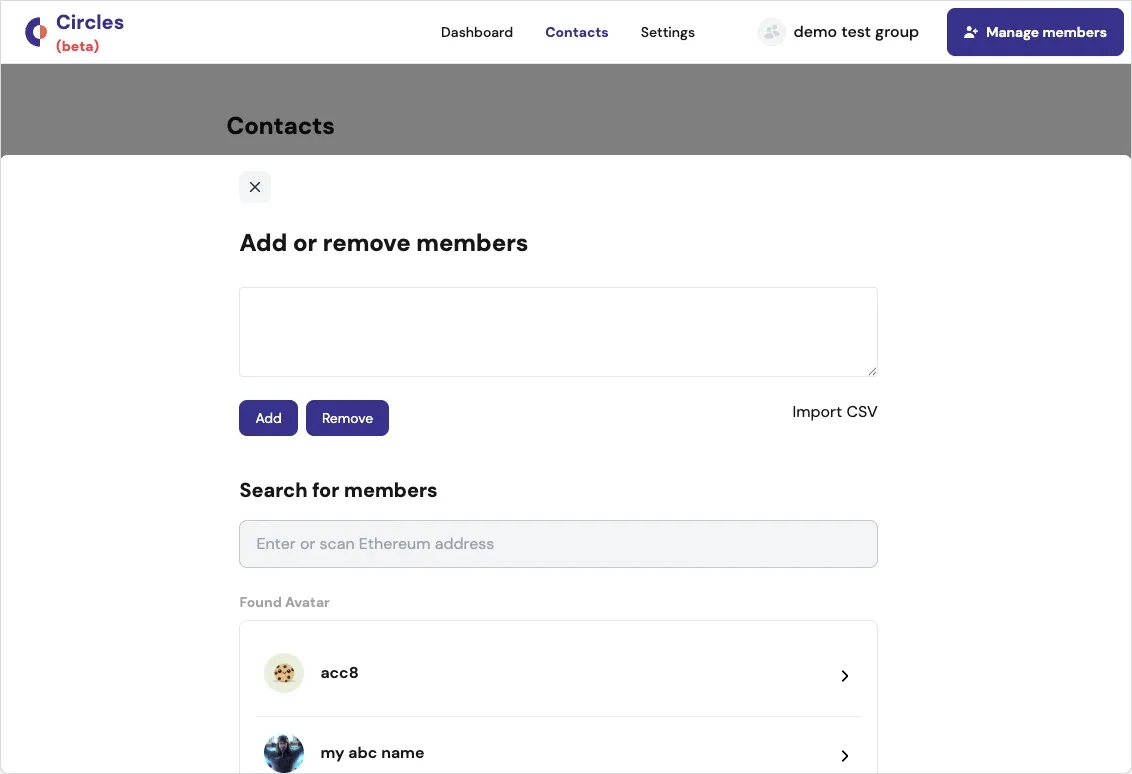
7. Managing members
To add existing Circles users to your new group, navigate to the “Contacts” page and click the “Manage members” button.
This will display the member management form, where you can enter the address of the members you want to add.
You can also use the bulk upload option by importing a CSV file with a list of addresses.
Once you have added the addresses of all the members you wish to add to the group:
Click the “add” button to start the process
Sign the transaction in your wallet
Once the transaction has completed, close the contact form popup, and you will see the new members in the list
8. Update the group info
Non-editable fields:
Circles address - this is the address of the group contract
Editable fields:
Group name - this is the name of the group as displayed in the Metri wallet
Group description - this is the description for the group that is also displayed in the Metri wallet
Location - optionally add a physical location for your group
Image - the profile image for your group, also displayed in the Metri wallet

Access an existing group
1. Connecting
Visit app.aboutcircles.com and click “Get started”
Ensure you have your “owner” EOA (or Safe) selected in Metamask or Rabby.
On the “Access Circles”, select the “Use Safe” option.

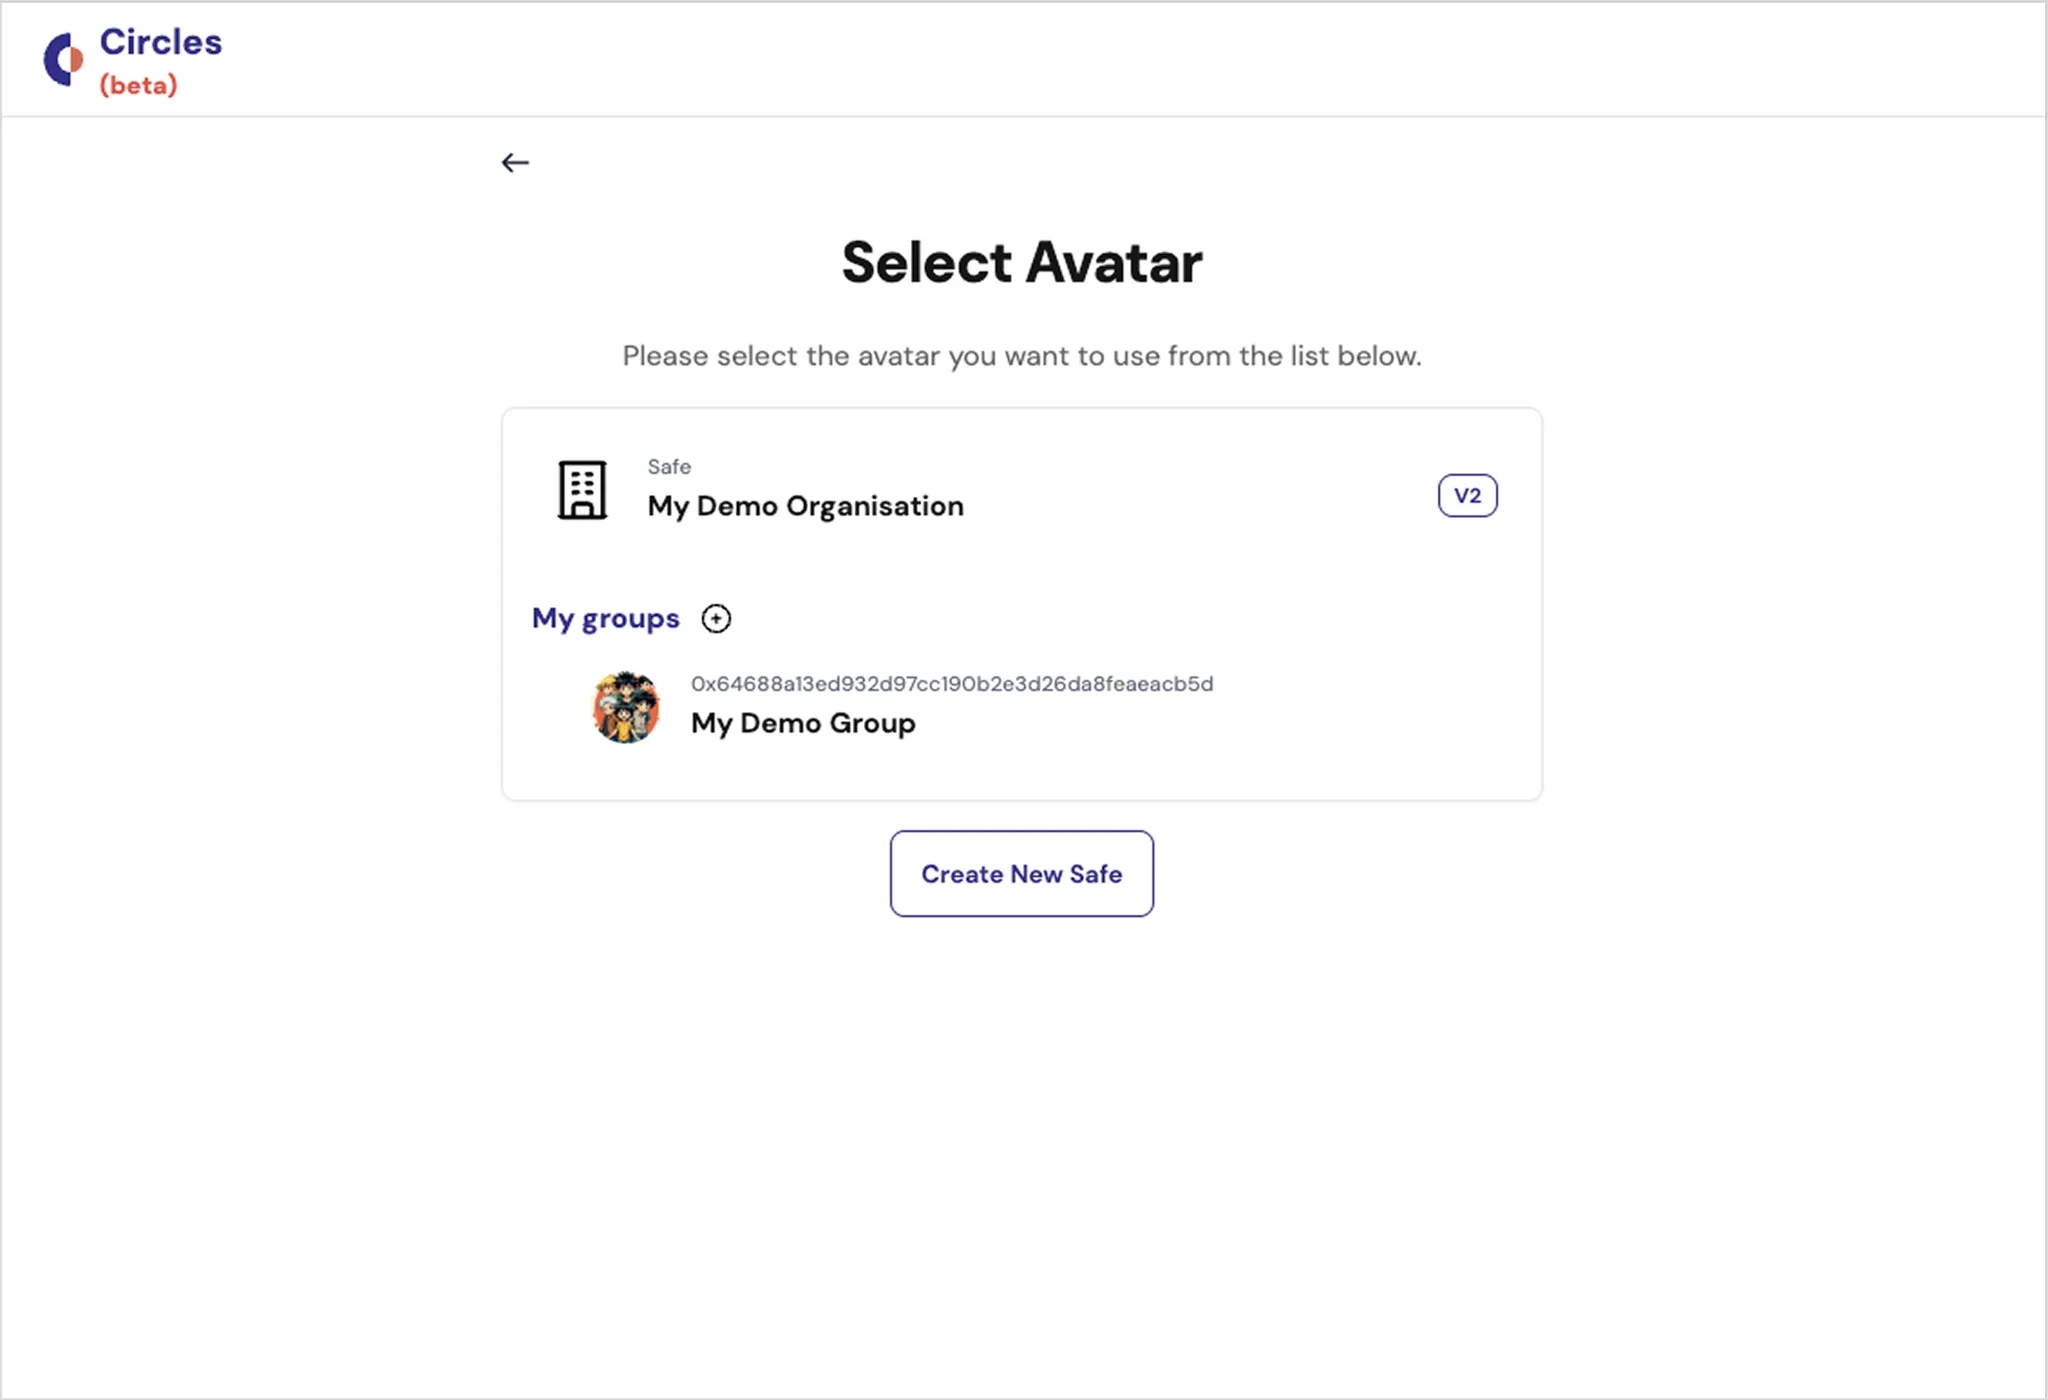
2. Select your profile
On this screen, you can access your Circles accounts. Possible account types in Circles are:
Personal
Organisation
Group
If you have the correct EOA selected in your wallet, then you will see your group in the “My groups” section.
Click on your group name to access your group dashboard (displayed as “My Demo Group” in the screenshot below)
3. Dashboard
The current dashboard displays a list of transactions and a breakdown of the tokens in your Circles group.
In an upcoming release, this view will also display an overview of key data metrics for your group, including the number of members, group token transactions, token distribution and more.

4. Managing members
To add existing Circles users to your new group, navigate to the “Contacts” page and click the “Manage members” button.
This will display the member management form, where you can enter the address of the members you want to add.
You can also use the bulk upload option by importing a CSV file with a list of addresses.
Once you have added the addresses of all the members you wish to add to the group:
Click the “add” button to start the process
Sign the transaction in your wallet
Once the transaction has completed, close the contact form popup, and you will see the new members in the list

5. Update the group info
Non-editable fields:
Circles address - this is the address of the group contract
Editable fields:
Group name - this is the name of the group as displayed in the Metri wallet
Group description - this is the description for the group that is also displayed in the Metri wallet
Location - optionally add a physical location for your group
Image - the profile image for your group, also displayed in the Metri wallet

We hope you've completed your setup smoothly!
Now that you've successfully created your Circles Group, you're ready to dive deeper into the technical details that form the foundation of your project. In the next section, we'll explore the protocol-level configurations and advanced features that power your group's operations.
Last updated
Was this helpful?